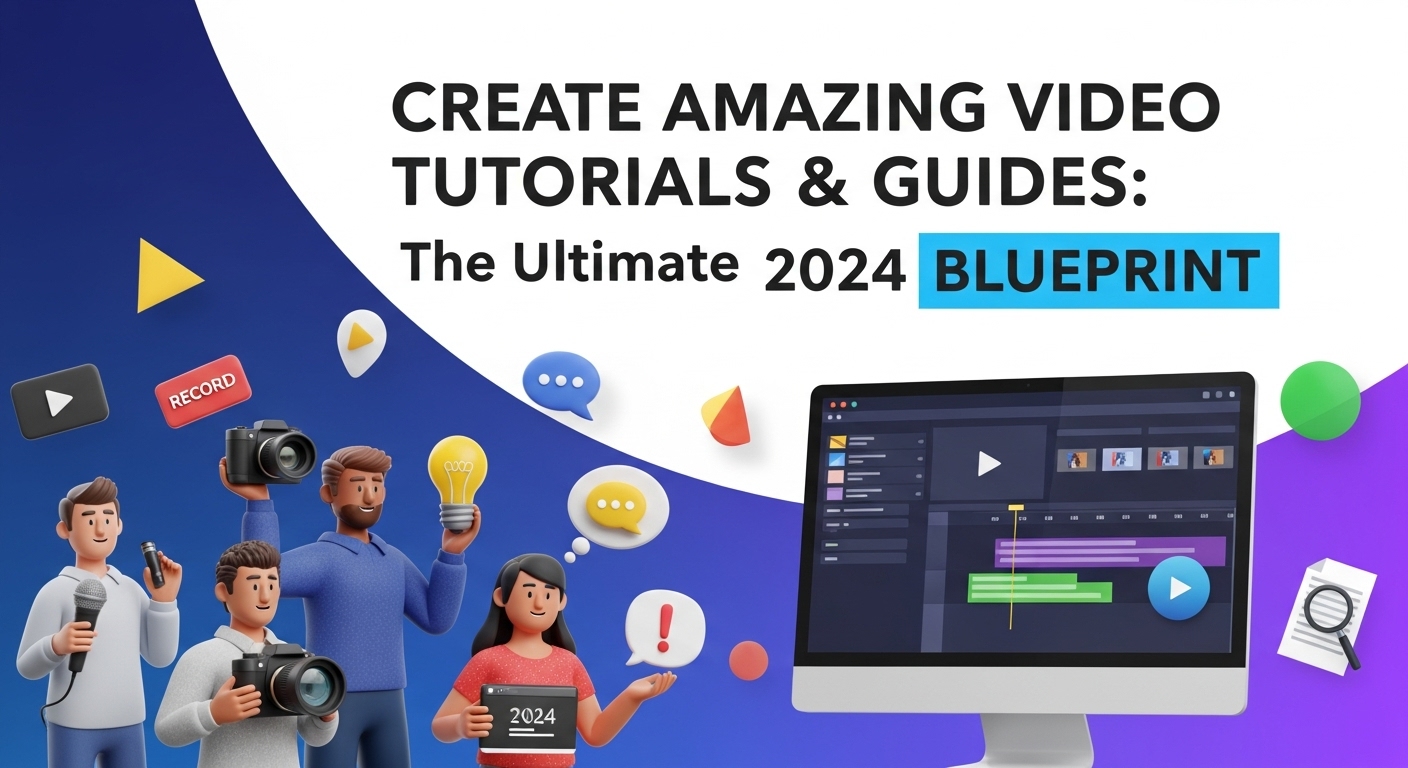
Why High-Quality Video Tutorials Are More Important Than Ever
Have you ever been stuck on a complex software problem, only to find the perfect 5-minute video that solves it instantly? Or maybe you learned a new hobby, from knitting to coding, entirely through a series of online videos. That’s the power of a well-made video tutorial. In today’s digital world, video isn’t just a form of entertainment; it’s a primary method of learning and information sharing. Creating effective video tutorials & guides is a skill that can elevate your brand, establish you as an expert, and genuinely help people.
But there’s a catch. The internet is flooded with content. A shaky, poorly-lit video with muffled audio won’t cut it anymore. Viewers have high expectations. They want clarity, quality, and engagement. The difference between a tutorial that gets thousands of views and one that gets lost in the digital noise often comes down to a few key principles of planning and production. This guide is your complete blueprint for crafting professional, engaging, and incredibly helpful video tutorials that people will love and share.
The Foundation: Planning Your Tutorial Masterpiece
Before you even think about hitting the record button, a solid plan is essential. Great tutorials are not improvised; they are meticulously planned. This pre-production phase is where you lay the groundwork for a clear and concise final product.
Defining Your Audience and Your Goal
Who are you making this for? A complete beginner or an experienced user looking for advanced tips? Understanding your audience dictates the language you use, the pace of your instruction, and the level of detail you provide. Create a simple ‘viewer persona.’ Are they a student, a professional, a hobbyist? What is their biggest pain point that your tutorial will solve? Next, define a single, clear goal for your video. What is the one thing you want your viewer to be able to do after watching? Every step in your tutorial should directly contribute to achieving that goal.
Scripting and Storyboarding for Ultimate Clarity
While you don’t need a Hollywood-level script, a detailed outline or a word-for-word script is a game-changer. It prevents rambling, eliminates filler words like ‘um’ and ‘ah,’ and ensures you don’t forget crucial steps. A script is your roadmap. For visual tutorials & guides, a storyboard is its perfect partner. A storyboard can be as simple as a series of sketches or bullet points outlining what will be shown on screen as you read each part of the script. This helps you visualize the flow, plan for necessary screen captures, and decide where to add zooms or callouts for emphasis.
Choosing the Right Tools and Software
You don’t need a professional studio to get started, but you do need the right tools for the job. Here’s a quick breakdown:
- Screen Recording: This is the heart of most software tutorials. Tools like OBS Studio (free and powerful), Camtasia (paid, but with a built-in editor), and Loom (great for quick, shareable videos) are excellent choices.
- Audio Recording: Your audio is arguably more important than your video. A crisp, clear voiceover is non-negotiable. An external USB microphone like the Blue Yeti or Audio-Technica AT2020 is a fantastic investment. At a minimum, use a headset with a microphone to avoid the tinny sound of a laptop’s built-in mic.
- Video Editing: This is where you’ll assemble your footage, cut out mistakes, and add polish. DaVinci Resolve offers a free version that is incredibly powerful. Other popular options include Adobe Premiere Pro (industry standard) and Final Cut Pro (for Mac users). For beginners, Filmora is a user-friendly option.
Recording Like a Pro: Capturing High-Quality Content
With your plan in place, it’s time to capture the raw materials. The quality of your recording directly impacts the final product, so taking your time here will save you headaches in the editing room.
Screen Recording Best Practices
Your screen is your stage. Prepare it accordingly. Close all unnecessary tabs and applications. Turn off notifications to avoid distracting pop-ups. Clean up your desktop! Set your screen resolution to a standard format like 1920×1080 (1080p) for a crisp, high-definition look. When recording, use your mouse cursor intentionally. Move it smoothly and deliberately to guide the viewer’s eye. Use your software’s features to highlight clicks or keystrokes to make your actions perfectly clear.
Crystal-Clear Audio is Non-Negotiable
We’ve said it before, but it’s worth repeating: people will forgive mediocre video quality, but they will not tolerate bad audio. Find a quiet space to record. A closet full of clothes is a surprisingly effective makeshift sound booth because the soft surfaces absorb echo. Speak clearly and at a consistent pace, projecting your voice as if you’re talking to a friend in the room. Do a test recording to check your levels and ensure there’s no background hum or clipping (distortion from being too loud).
Camera and Lighting Setups (Even on a Budget)
If your tutorial includes a talking-head shot of you, good lighting is key. You don’t need expensive studio lights. The simplest setup is to face a window for soft, natural light. If you’re recording at night, a simple ring light can make a world of difference. Position your webcam or camera at eye level to create a more direct and engaging connection with your audience. Looking slightly down at a laptop camera is an unflattering angle that you want to avoid.
The Magic of Editing: Polishing Your Tutorial
Editing is where your raw footage transforms into a polished, professional guide. This is where you can fix mistakes, improve pacing, and add elements that enhance learning and engagement.
Pacing and Cutting for Engagement
The number one rule of editing is to be ruthless. Cut out every mistake, every long pause, and every unnecessary moment. Is a software program taking 10 seconds to load? Cut it out! This keeps the pace brisk and respects your viewer’s time. Use techniques like ‘jump cuts’ to seamlessly remove filler words. Pacing is crucial for keeping your audience engaged from start to finish. Your goal is to create a tutorial that is as concise as possible without sacrificing clarity.
Adding Visual Aids: Text, Arrows, and Zooms
Don’t just rely on your voice and cursor. Great tutorials & guides use visual aids to direct attention and reinforce key points. Use your editing software to add text overlays for important shortcuts or definitions. Implement arrows or circles to highlight specific buttons or menu items. Use smooth zoom-ins to focus the viewer’s attention on a critical area of the screen. These small additions make your tutorial dramatically easier to follow.
Incorporating Music and Sound Effects
A subtle, royalty-free music track in the background can add a layer of professionalism and keep the energy up. Ensure the music is quiet enough that it doesn’t compete with your voiceover. You can also add subtle sound effects, like a soft ‘click’ when you press a button, to provide auditory feedback and make the experience more immersive.
Publishing and Promotion: Getting Your Guide Seen
You’ve created an amazing tutorial, but your job isn’t done yet. Now you need to get it in front of the people who need it.
Optimizing for Search on YouTube and Beyond
Most video tutorials live on YouTube, which is the world’s second-largest search engine. Treat it like one. Do some basic keyword research to find out what terms people are using to search for your topic. Include these keywords in your video title, description, and tags. Write a detailed description that summarizes the video and includes timestamps (chapters) so viewers can easily navigate to the sections they need. This makes your content more user-friendly and helps it rank better in search results.
Creating Compelling Thumbnails and Titles
Your title and thumbnail are your video’s first impression. They are the deciding factor in whether someone clicks on your video or scrolls past it. Your title should be clear, benefit-driven, and include your main keyword. For example, instead of ‘Excel Tutorial,’ try ‘Excel Tutorial: Master VLOOKUP in Just 10 Minutes.’ Your thumbnail should be bright, high-contrast, and easy to read. Use a clear image and bold text to convey the video’s topic at a glance.
Your Journey to Creating Better Tutorials & Guides Starts Now
Creating high-quality video tutorials & guides is a process, but it’s one that anyone can master. It’s a blend of thoughtful planning, careful execution, and creative polishing. By focusing on a clear goal, prioritizing clean audio, editing ruthlessly, and optimizing for discovery, you can create content that not only looks professional but genuinely helps your audience. The skills you develop will make you a more effective communicator and a trusted resource in your field. So, what are you waiting for? The best time to start was yesterday. The next best time is now. Grab your microphone, fire up your screen recorder, and start sharing your knowledge with the world. We can’t wait to see what you create.


